

Nobody ever said Microsoft Word was the best software for word processing, but I think we can all agree that Word won the war against its competitors. Aside from a few obstinate holdouts, no one uses Word Perfect anymore, and Google Docs just doesn't have the features needed for serious legal document formatting (for now). Thus, whether you think Word is a great tool or a necessary evil, you need to know Word to practice law. (At a minimum, you'll enjoy your life as a lawyer more if you are proficient with the software you use to do your job.) I have also created a Microsoft Word template for lawyers that you can download here:

The problems that arise from not knowing Word are manifold: janky-looking documents, disappearing text, formatting errors, and documents that simply crash. On the other hand, lawyers that are good at Microsoft Word can make reliably nice-looking and well-formatted documents and can fix documents that have problems. However, we recommend utilizing a document review tool as well as a task management tool. In this post, I'll cover Microsoft Word for lawyers what I consider to be the most essential skill for any attorney using Word: defining and applying styles.
But before we get to adding style, you first need to know how to give your documents a clean slate of formatting.
1. Resetting Formatting
My first and perhaps most important tip for lawyers using Microsoft Word is: learn how to reset formatting in Word. When your document formatting gets "off," it can be very difficult to get it back in order. You can have invisible tables fighting for space, mixed styles, and strange page layouts. The underlying code can even become corrupted. Here's how you can fix these problems:
- Copy all of the text of the affected document to your clipboard
- Paste all of this text into a new Notepad document
- Start a brand new Word document (do not copy the existing doc)
- Copy the text from the Notepad document into the new Word document
You'll now have a clean slate in terms of document formatting. The formatting gremlins will be gone. They were eradicated by pasting into Notepad, which doesn't recognize any formatting. Incidentally, this leads me to another tip:
PRO TIP: Never paste text into a Word document unless you choose the "keep text only" option - or use Notepad as an intermediate step. Pasting text directly and retaining formatting can add bizarre formatting into your Word document.
2: Using Styles
Now that we've discussed the evils of unwanted styles, let's consider how to add useful and attractive styles to your document. Instead of making this section abstract and generalized, I'm going to show you how I set up my legal documents.
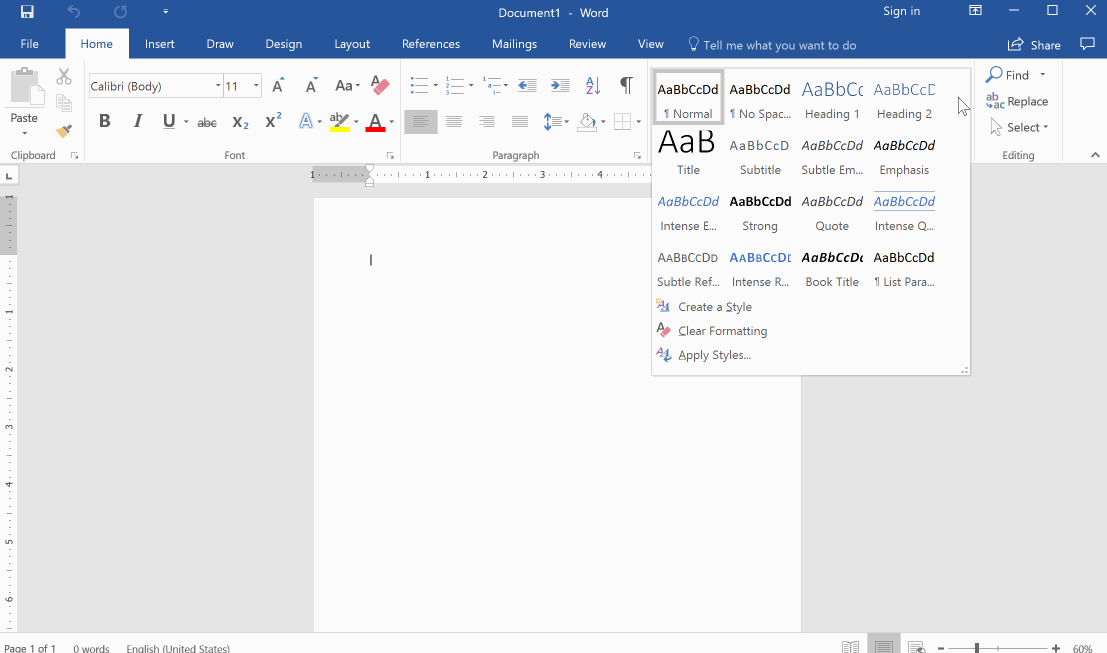
Clean Up The Style Gallery
The first thing I do is remove all but a few items from the so-called Style Gallery. Here's how you do it:
On the Home ribbon, select the drop-down menu for the Styles gallery. Right-click on the style you want to delete and select "Remove from Style Gallery." You will want to leave in Normal, No Spacing, Heading 1, and Heading 2.
Define The Normal Style
The next step is the define the Normal style. It needs to go first because it is the foundation for most of the other styles: several of its properties are inherited by other styles. To change the Normal style, right-click on it and choose "Modify" from the menu. Now you can choose the default font, line spacing, paragraph spacing, paragraph indentation, and justification for your entire document.
Sample "Normal" properties:
- Font: Book Antiqua
- Font weight: 12pt or 13pt
- Line Spacing: 1.15
- Before paragraph spacing: 0
- After paragraph spacing: 6pt
Choose whatever floats your boat. You can also define these properties by formatting a paragraph in your document and then setting Normal to match the formatting of that paragraph. In any case, be sure to update the Normal style before moving on. One anti-pattern to avoid in your documents is needing to manually add blank lines after paragraphs. Instead, just set up the Normal style to have a space after each paragraph.
Create Heading Styles
After setting up Normal, the next most important step is to create heading styles. Word's heading styles are very powerful, and when you start using them, you'll wonder how you ever lived without them.
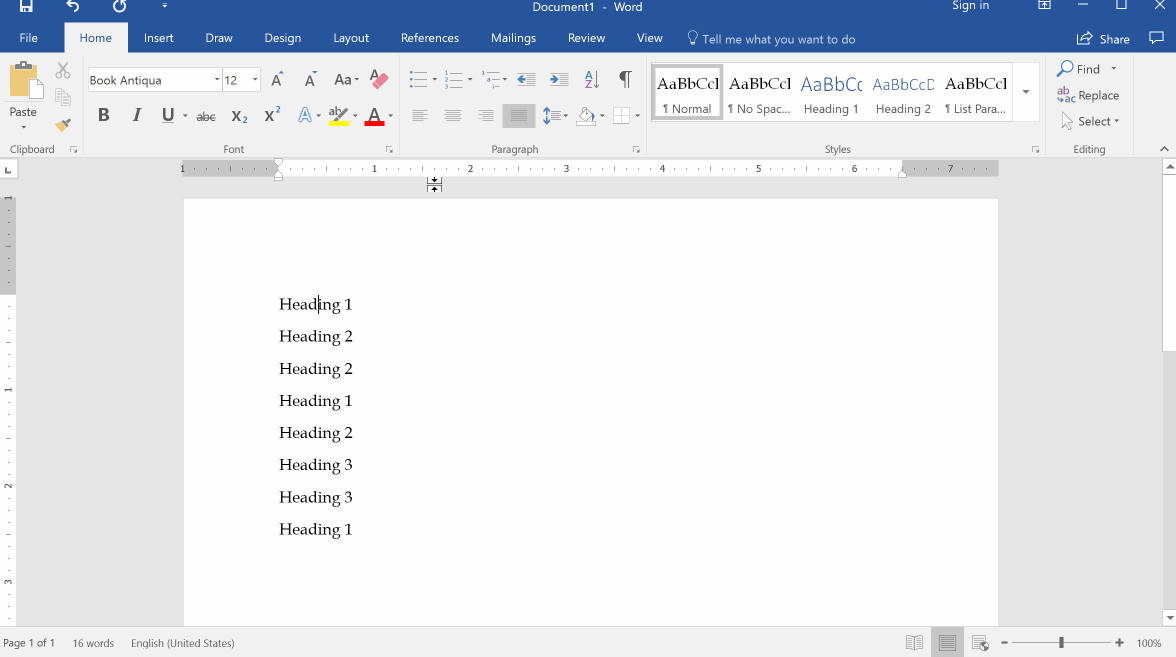
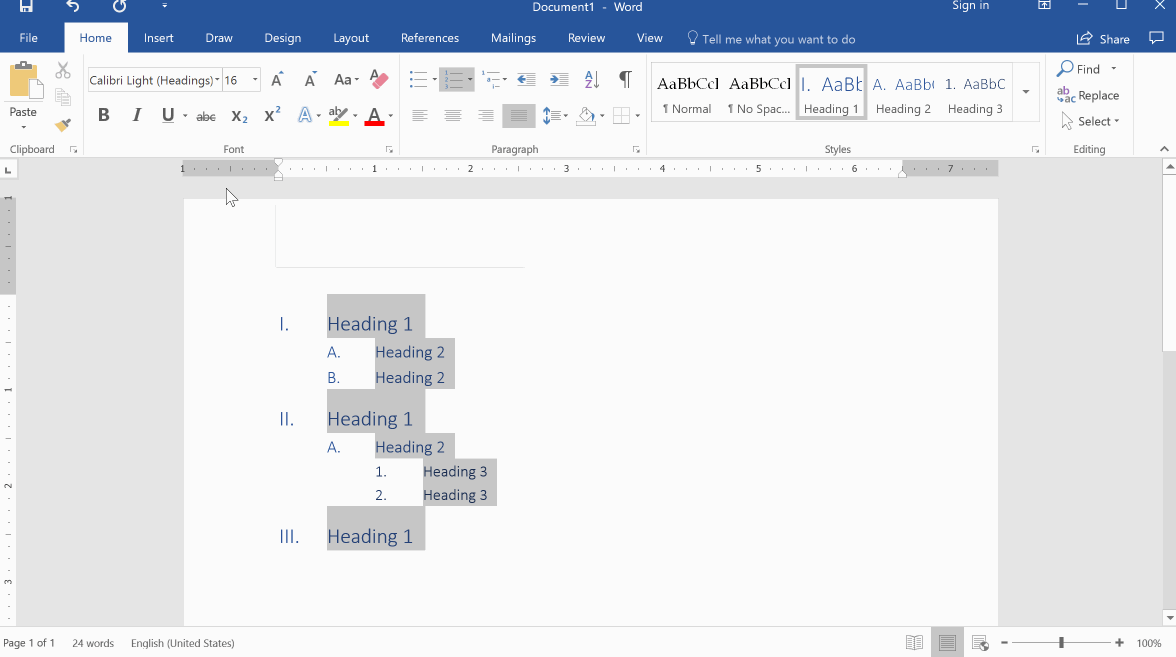
To start, you can add a series of lines to your document to serve as sample headings. Select a sample of the highest level heading, click on the multilevel list button, and choose your preferred format. Be sure to choose one of the options that includes the word "headings" in it. Your headings will now have auto numbering and auto indenting. Here's what this looks like:
After you've given your headings auto numbering, you can create a heading from the quick styles pane. Just hover over text that you want to be formatted as a heading, and click on Heading 1, Heading 2, or Heading 3. It's hard to overstate how much time the auto numbering will save you when you're working on a brief. If you your brief has five top-level sections and you add a new one somewhere in the middle, all of the following sections will have their section number updated. "II" will become "III," "III" will become "IV," and so on.
We still have one problem: the heading styles look pretty childish: Lawyers don't use blue fonts!
To update the styles quickly, I have a little trick. I select all the text and then apply some base formatting: black text, the same font as the Normal style, and a uniform size and weight (generally bold for headings). Sometimes, I'll also tweak the indentation, but you don't need to do this.
After you updated these sample headings, you'll want to update the heading styles for Heading 1, 2, and 3 to match what's on the page. To do this, select a heading in the document (all you need to do is put the cursor in its line), and then right-click on the Heading its linked to and choose the option to update the heading to match the selection.
By using headings, you also unlock one of Word's best features: the Navigation Pane. You can turn it on in the View tab, and it gives you a handy little map of your document organized by heading that lets you jump from one section to the next.
There are a few other tricks you can do to make your Word documents work better for legal documents — like hanging indents for certain headings and specific styles for block quotes. I strongly recommend exploring those features as you start making your own templates. In the meantime, here's a link to download the document I created while writing this post. Feel free to tweak it and make it your own.
Finally, one thing that goes without saying is you don't want to have to reinvent the wheel each time you start a new document. You can either update your master template, save your document as a template, use a sample document, or — the best option — use some sort of case outline software. If you’re looking for automation solutions, check our Casefleet’s case management software today.